MargBooks ICICI Bank Integration Guide

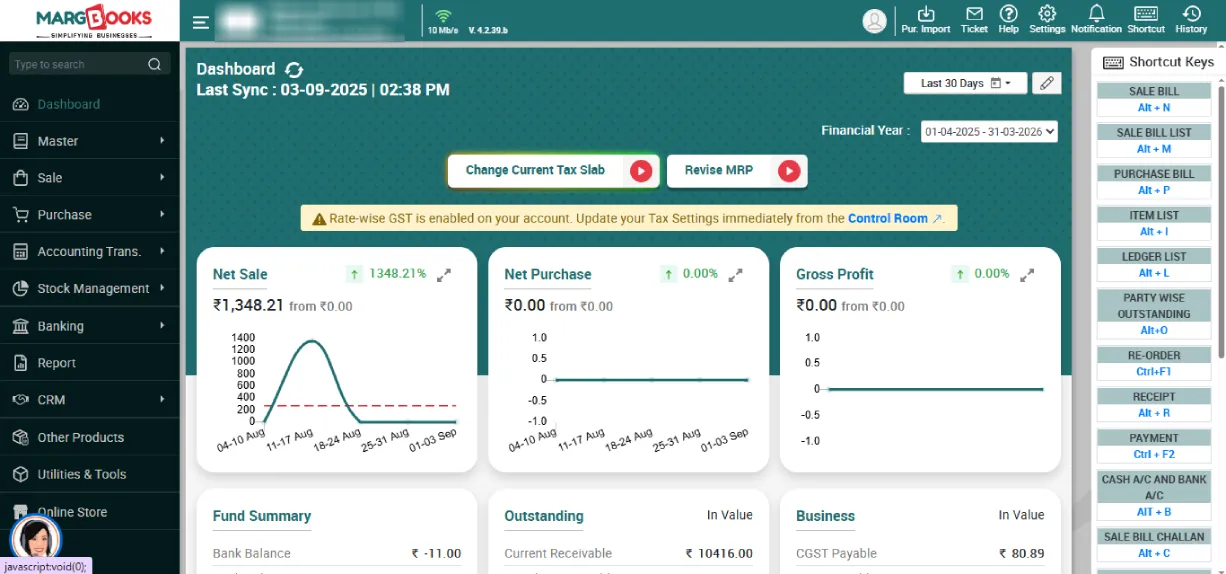
This guide explains the step-by-step process to integrate your ICICI Bank account with MargBooks for seamless connected banking.

Once integrated, users can check real-time bank balances, make payments, and auto-sync statements directly within MargBooks.

Step 1: Log in to MargBooks

  • Sign in to your MargBooks account using your credentials.
  • After logging in, you will land on the Dashboard screen.
Deshboard

Step 2: Open Dashboard Settings

  • On the top-right corner of the Dashboard, click on the Settings icon.
  • From the dropdown, click on Dashboard Settings.
  • In the new window, click on the Configure button next to Control Room.
Deshboard Settings

Step 3: Enable ICICI Bank Integration Option

  • Inside the Control Room, go to the search bar and type Integration.
  • Locate the option Banking Integration.
  • Turn the option ON (Yes) and click Save Changes to enable the integration setting.
ICICI Bank Integration Option

Step 4: Register Your ICICI Bank Account

  • After enabling, go back to the main menu and click on Banking from the left navigation panel.
  • A registration window will open. Fill in the following details:
    • Corporate ID
    • User ID
    • Alias ID
  • After entering all the details, click Save & Register.
Register Your ICICI Bank Account

Step 5: Access Connected Banking Features

  • After successful activation, you can now:
    • View real-time bank balance directly in MargBooks.
    • Make vendor or supplier payments using NEFT / RTGS / IMPS without logging into the ICICI portal.
    • Fetch and auto-reconcile bank statements with your accounting entries.

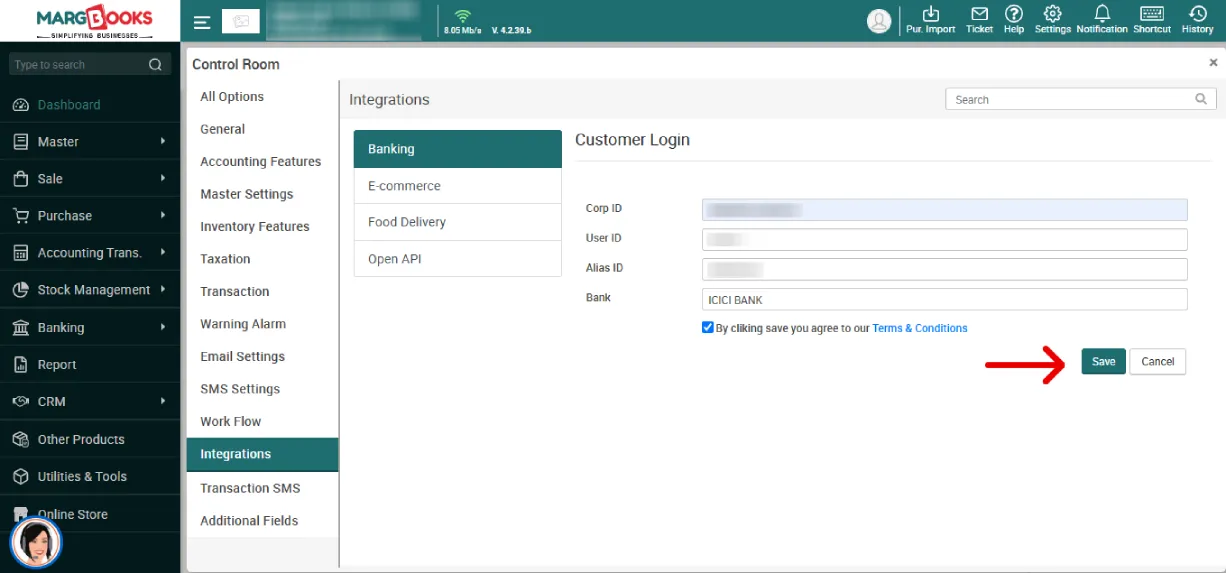
By following these steps, you can easily integrate your ICICI Bank account with MargBooks and experience seamless banking operations within the software. This integration saves time, eliminates manual reconciliation, and ensures faster, error-free financial management, all from one dashboard.

1