Staying compliant with tax regulations is not just a legal formality; it’s a business necessity. Whether you’re a small business owner, a freelancer, or running a large enterprise, registering under GST (Goods and Services Tax) is the first step toward being a legally recognised taxpayer in India.
But if you’re wondering how to go about the procedure of registration under GST online, this blog is for you. We’ll walk you through the steps, simplify the jargon, and also share how tools such as cloud based GST software and online billing software such as MargBooks can make your GST journey a whole lot smoother.
Why Is GST Registration Important?
Before diving into the “how”, let’s quickly look at the “why”.
- Legal Compliance: It’s mandatory for businesses with a turnover exceeding ₹40 lakhs (₹20 lakhs for service providers in most states) to register under GST.
- Input Tax Credit: Once registered, businesses can claim ITC on purchases, reducing their overall tax liability.
- Increased Credibility: Having a GSTIN (GST Identification Number) builds trust among suppliers, customers, and stakeholders.
- Expansion Opportunities: Registration is essential if you plan to sell online or expand across state lines.
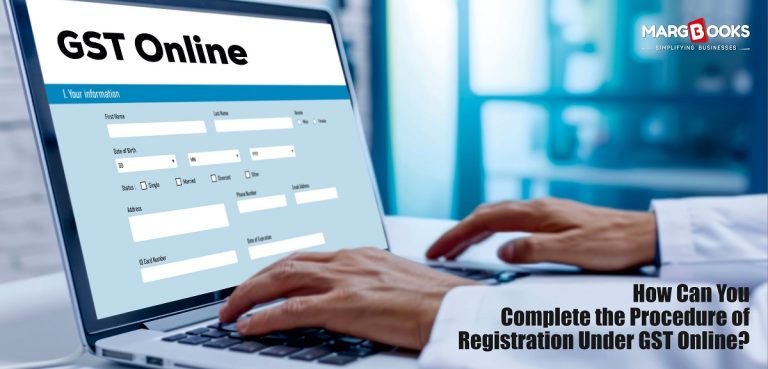
Step-by-Step Guide to the Procedure of Registration Under GST Online
Now, let’s get down to brass tacks. Here’s a simple breakdown of how you can complete your GST registration online:
Step 1: Visit the GST Portal
- Go to the official website: www.gst.gov.in
- Click on Services > Registration > New Registration
Step 2: Fill in Basic Details
You’ll be required to provide:
- Legal Name of the Business (as per PAN)
- PAN of the business or individual
- Mobile number and email address (for OTP verification)
- State and district where the business is located
Step 3: OTP Verification
You’ll receive two OTPs one on your mobile and one on your email. Enter them to proceed.
Step 4: Temporary Reference Number (TRN)
After successful OTP verification, you’ll receive a TRN. This allows you to resume your registration later if needed.
Step 5: Log in With TRN
- Go back to the GST portal
- Click on Services > Registration > New Registration
- Select Temporary Reference Number (TRN) and log in
Step 6: Fill in the Application Form (Part B)
This is the detailed part of the application. You’ll need to upload:
- Business address proof
- Photographs of the proprietor/partners/directors
- Proof of business constitution (e.g., partnership deed or incorporation certificate)
- Bank account details (cancelled cheque/passbook)
- Authorisation letter or board resolution
Step 7: Verification via DSC, E-Sign ,or EVC
- If you’re a company or LLP, you must use a Digital Signature Certificate (DSC)
- Others can use E-Sign (Aadhaar-based OTP) or EVC
Step 8: ARN Generation
Once submitted, you’ll get an Application Reference Number (ARN). You can track your application status using this ARN.
Step 9: GSTIN Allotted
If everything is in order, the department will verify your documents and issue a GSTIN within 7 working days. Sometimes, they may ask for additional clarification.
Common Mistakes to Avoid During GST Registration
- Using an incorrect PAN or business name
- Not uploading proper address proof
- Forgetting to verify via OTP or DSC
- Missing bank details or incorrect IFSC codes
Simplify Your GST Compliance with MargBooks
While completing the procedure of registration under GST is a one-time process, GST compliance is ongoing, involving monthly filings, invoicing, reconciliation, and more.
This is where tools like MargBooks come into play.
What Is MargBooks ?
MargBooks is a cloud based GST software tailored for Indian businesses. It simplifies day-to-day accounting, billing, inventory, and GST filing—all from a single dashboard.
Key Features:
- Auto-generation of GST invoices with just a few clicks
- Seamless integration with GST portal for real-time updates
- Online billing software features that allow easy invoicing even from a smartphone
- Cloud access from anywhere ideal for remote teams or shop owners always on the move
- Regular updates as per the GST Council guidelines
Why Choose Cloud Based GST Software Like MargBooks?
In today’s competitive market, manual processes are both time-consuming and error-prone. A cloud based GST software not only ensures compliance but also helps businesses:
- Stay audit-ready
- Avoid penalties due to missed filings
- Collaborate easily with accountants and CA firms
- Back up financial data securely and access it anywhere
Final Thoughts
Completing the procedure of registration under GST online is fairly straightforward if you follow the steps carefully. However, staying compliant doesn’t end with registration. Monthly GST returns, invoice generation, HSN codes, and tax reconciliation can be daunting without the right tools.
That’s why adopting a reliable solution, MargBooks, which offers both online billing software and robust GST features, can be a game-changer. Whether you are just starting or scaling your operations, having technology on your side ensures you remain compliant, efficient, and stress-free.


